

Documenting Your Safe Contents in Ashland: An Inventory for Peace of Mind
A straightforward inventory makes it faster to verify what you own—and easier to stay organized
If you’ve invested in a quality safe, you’re already thinking ahead. What comes next is equally practical: documenting what’s inside. A detailed, current inventory allows you to keep track of valuables, confirm important details (like serial numbers), and speed up insurance claims documentation if you ever need it. This article presents a straightforward system you can set up in an afternoon—then maintain in minutes per month.
Why “safe inventory” is important (even when you never file a claim)
Most homeowners remember their big-ticket items, but the details that actually help during an insurance claims process are often forgotten: exact model numbers, purchase dates, special features, appraisals, and proof-of-ownership. A thorough contents documentation process does three things effectively: 1) Speeds up reporting: You can hand over a ready list rather than piecing it together from memory. 2) Increases accuracy: Serial numbers, receipts, and photos aid identification and valuation. 3) Boosts organization: You’ll track what you have, what needs maintenance, and what no longer belongs in the safe. Numerous insurers and risk-management resources recommend a home inventory approach—photos/video plus a written list—because it allows you to document personal property and reduces friction if you need to file a claim. (For general advice on claims documentation and keeping receipts, FEMA also highlights gathering policy information and saving receipts related to repairs/replacement.)
What to document: the “3 layers” of contents documentation
A thorough inventory isn’t just a list of items. Organize in layers so your records remain useful even if one piece goes missing.
Layer 1: A written inventory (spreadsheet or app)
Record item name, brand, model, serial number (when available), purchase date, purchase source, and estimated replacement value.
Layer 2: Photo/video proof (fast, high-value)
Take wide shots that show “what is it,” and close-ups that show “what exactly is it” (labels, markings, unique identifiers). A brief walkthrough video can record a lot quickly.
Layer 3: Supporting documents (receipts, appraisals, warranty)
Attach scans or photos of receipts, appraisals, and warranty pages. If you are without receipts, press on—photos and detailed descriptions still go a long way.
At a glance: inventory methods (choose one and begin)
| Method | Best for | What you record well | Watch-outs |
|---|---|---|---|
| Spreadsheet | Precise owners | Serial numbers, values, dates | Easy to delay; start a timer and keep it simple |
| Inventory app | Users who want photos + fields together | Pictures, invoices, records in one place | Export and back up regularly so you’re not locked in |
| Video walkthrough | Quick start, extensive coverage | Room/shelf context, “what you had” memory aid | Tougher to search; add a simple index after the fact |
- Tip: Many insurance resources suggest storing your inventory in a secure location and keeping a backup outside the home (for example, cloud storage or an offsite copy).
- A step-by-step guide: assemble a “safe contents inventory” in one afternoon
Follow this sequence to prevent overthinking and reach a clean, usable result quickly.
1) Set your scope (10 minutes)
Decide whether your inventory captures only what’s in the safe, or the safe plus nearby “high-value” storage (drawers, cabinets, and closet shelves). Start with the safe first—expand afterward.
2) Choose your template (10 minutes)
A simple spreadsheet works fine. Recommended columns: Category, Item, Brand/Model, Serial, Purchase date, Value, Photo link, Receipt link, Notes.
3) Pull items by “zone,” not by category (20–40 minutes)
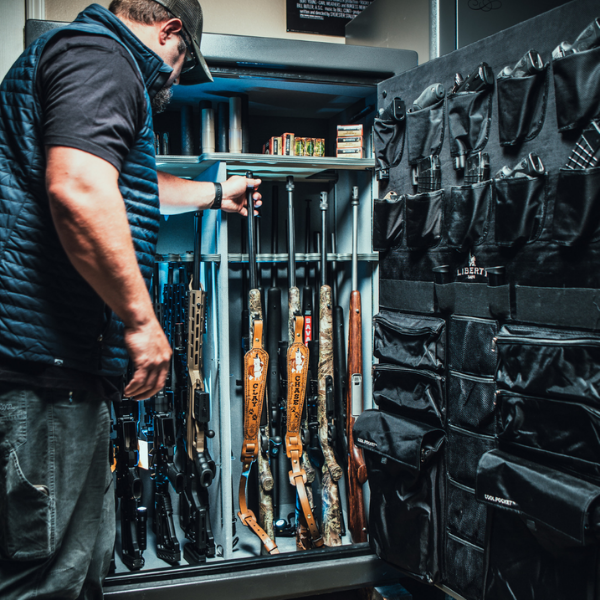
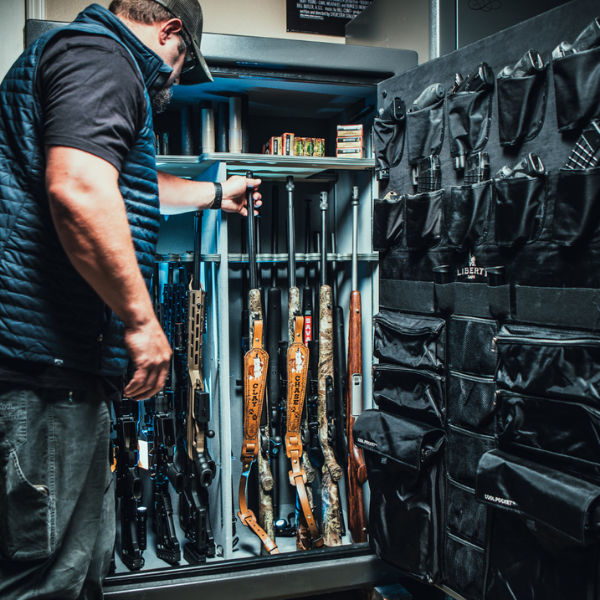
Catalog shelf-by-shelf or container-by-container (top shelf, door panel, lower shelf, document pouch). This avoids missed items and makes reloading the safe straightforward.
4) Capture with purpose (30–45 minutes)
Take two types of photos: • Context photo: the item in the safe (demonstrates ownership and placement). • ID photo: close-up of label/serial/model, or a unique marking. • Capture photo: receipts/appraisals/warranty pages, if available.
5) Save a copy off-site (10 minutes)
If your inventory exists only on a device in your home, it can be not easy to get to when you need it. Maintain a backup in secure cloud storage and/or a separate physical drive held offsite.
6) Create a maintenance routine (5 minutes to set up)
Add a recurring reminder on your phone: first weekend of each month (or quarterly) to record anything new, removed, or upgraded. Consistency wins over perfection.
Make your inventory more intelligent with condition tracking
A strong inventory isn’t merely about “what you own,” it’s also about preserving belongings in stable condition. For the owners who keep sensitive valuables, installing basic humidity and temperature tracking can help you maintain an ideal environment inside the safe.
Add a detector
Record your “baseline” readings in your inventory notes so you can notice changes early.
Humidity & Temperature Monitor
Reduce moisture
If you have a dehumidifier or moisture absorber, record the model and service schedule in your inventory.
Dehumidifier Rod
Desiccant Canister
Lower floor-related moisture
If your safe sits on concrete or in a garage, document your floor protection method and anchoring details.
Protective Pads
Stacking Safe Organizers
- Optional: Include a “Safe Setup” tab to your inventory (safe model, serial, installed accessories, anchoring kit, and where you store backups).
- United States angle: plan for common claim pain points
Throughout OH, homeowners and renters often find the most challenging part of a claim isn’t the paperwork—it’s recreating a precise list of personal property. A “safe inventory” helps because it’s already focused on your highest-value, highest-importance items. Keep these practical habits: • Keep policy numbers and insurer contact info in the same folder as your inventory. • Keep receipts and repair/replacement expenses organized; many claim resources highlight saving receipts. • Keep offsite backups so your documentation survives the event you’re protecting against. Important: Always adhere to your specific policy requirements and your insurer’s claim instructions. Want help selecting the right setup for documenting and organizing your safe? Liberty Safe can help Ashland owners match accessories and organization options to your safe and your routine—so inventory updates remain quick and painless.
Reach out to Liberty Safe
Got a quick question from Ashland? Share your safe model and what you’d like to document.
FAQ: Safe inventory tracking, contents documentation, and insurance claims
How thorough does my inventory have to be? Specific enough that a third party could identify each item. For any high-value items in Ashland, note model/serial numbers and close-up images of identifying marks, as well as any receipts or appraisals you have.
Is a video walkthrough "sufficient" for insurance claims? A video is a strong start and records context quickly. It’s all the stronger when paired with a simple written list for searchability and a folder of receipts/appraisals for high-value items.
Where should I keep my inventory? Keep at least one copy offsite (a secure cloud backup or a physical drive kept away from home). If you have a paper copy, place it separately from the items it documents.
How often should I refresh my safe inventory? A monthly or quarterly cadence works well. Update each time you add, remove, or significantly upgrade an item. A small routine heads off a big “catch-up” project later.
Do I need serial numbers for everything? Not always. Prioritize serials for electronics, power tools, and other items when a label is accessible. For items without serials, rely on clear photos, item descriptions, and supporting documents.
Glossary
Contents documentation for Ashland owners: A collection of records (list, photos, receipts) that captures what you own and important identifying details. Replacement value: A practical estimate of what it would cost to replace an item with a similar one today. Serial number: A distinct identifier issued by the manufacturer that helps confirm the exact item. Off-site backup: A copy of your inventory kept somewhere away from your home (cloud storage or a separate physical site).